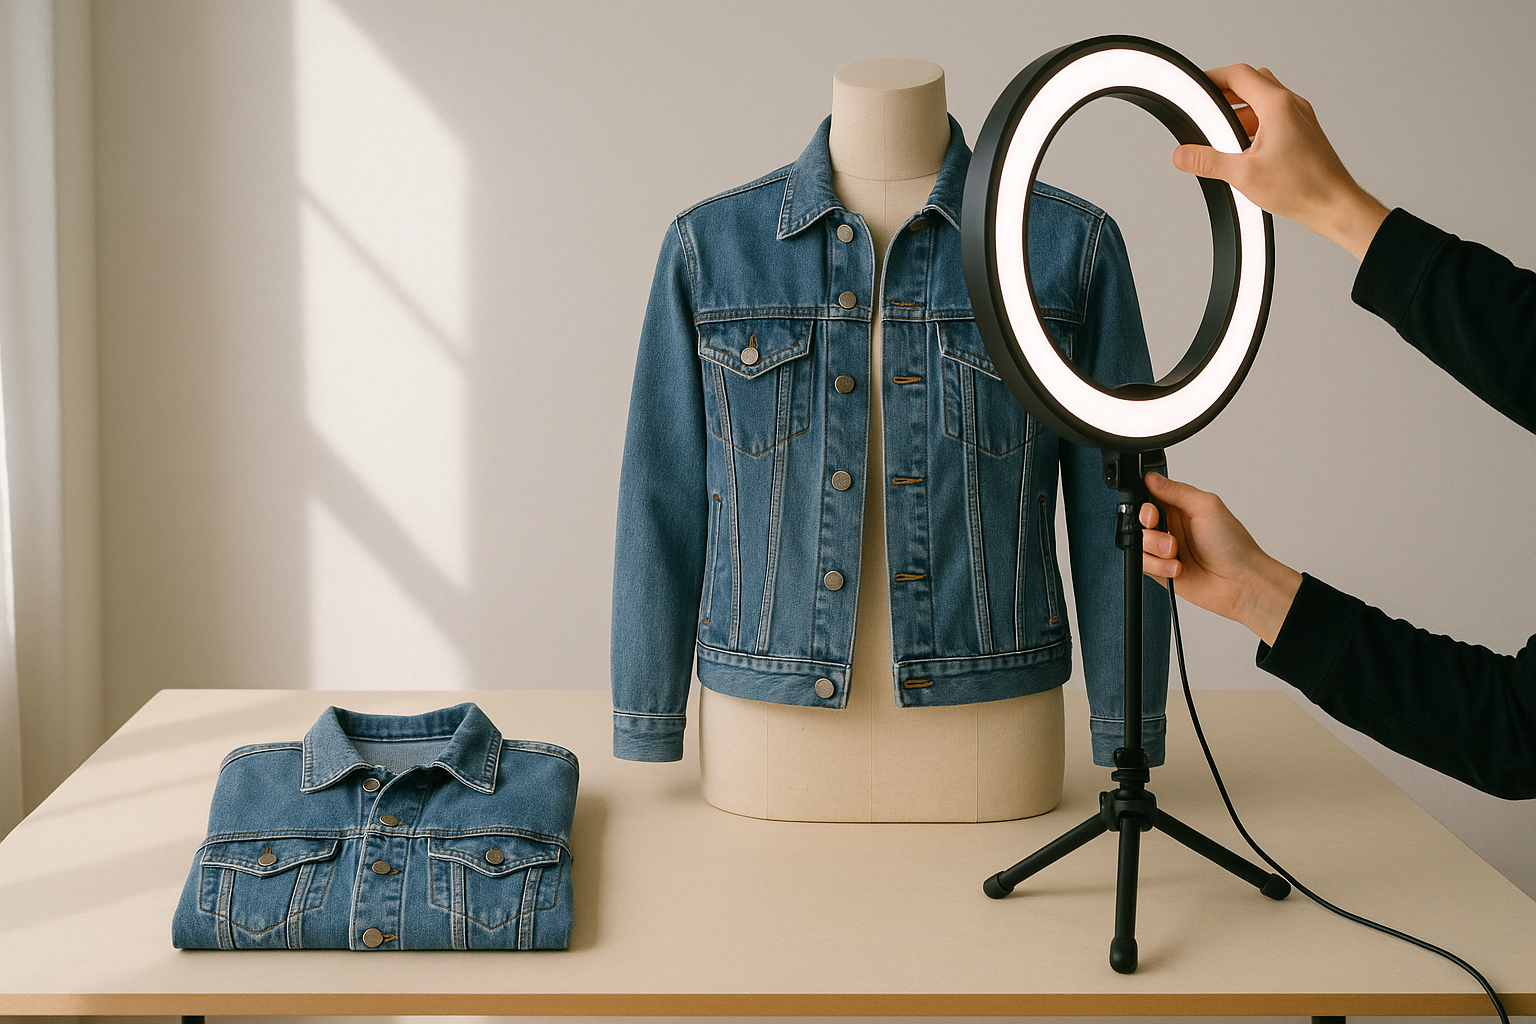
The best order to arrange eBay clothing listing photos is: front-facing hero shot first, back and side views second, brand/size tag third, fabric close-up fourth, then every defect shot last, in the order a buyer would find them if they held the garment themselves. Get the first photo wrong and the other eight may never get seen, because photo one is what shows in search results, carousels, and watch lists.
We've watched resellers spend twenty minutes staging a flatlay, nail the lighting, and still sell slower than a competitor with a slightly blurrier photo. The competitor's first image was the garment worn on a form, front and center. Theirs was a folded pile on a bed. Photo order isn't decoration. It's the first three seconds of your sales pitch, and most sellers sequence it backwards.
Why the First Photo Does Most of the Work
On eBay, photo one becomes your gallery thumbnail in search results, in "items you may like" carousels, and in buyer watch lists. Every other photo lives behind a click. On a results page with dozens of thumbnails, you get a fraction of a second of attention before the buyer scrolls on.
That moment has to communicate three things at once: what the item is, what condition it's in, and whether it's worth a second look. A flatlay of a folded sweater communicates the first well and the second poorly. Folds hide fit, drape, and true color under indoor lighting. An on-form or worn shot shows silhouette and proportion instantly, which is why on-form or ghost-mannequin first photos tend to beat flatlays for structured garments like blazers, dresses, and outerwear. Treat that as a pattern to test in your own store, not a guarantee.
Flat lays still have a place. They're faster to shoot at volume and work well for casual basics like tees and sweats, where fabric and print matter more than fit. The rule isn't "always on-form." It's "lead with whichever format shows the garment the way a buyer will actually wear it."
Also check your thumbnail, not just your full-size photo. Crop tight enough that the garment fills most of the frame, use a plain background, and avoid text overlays, borders, or watermarks on photo one. A garment that takes up 20% of a square thumbnail reads as clutter at search size. [Screenshot placeholder: the same listing's hero shot at full size vs. 140px search thumbnail.]
Flatlay vs. On-Form: Which Goes First
| Category | Best first photo | Why |
|---|---|---|
| Blazers, coats, structured jackets | On-form or worn | Buyers need to see shoulder structure and drape; flat lays flatten silhouette |
| Dresses, jumpsuits | On-form or worn | Fit and hemline read instantly on a body; flat photos hide waist shaping |
| Denim (jeans) | On-form or hung | Rise and taper are the top two buyer questions; flat shots make all jeans look identical |
| Graphic tees, sweatshirts | Flatlay, front-facing | Print and placement matter more than fit; flat lay shoots faster at volume with no quality loss |
| Knitwear, sweaters | On-form if fit-driven, flatlay if pattern-driven | Chunky cardigans sell on drape; fine-gauge patterned knits sell on the print |
| Shoes, boots | Angled pair shot, both shoes visible | Buyers compare left/right wear immediately; single-shoe first photos underperform |
If you're crosslisting to Poshmark and Mercari from the same shoot, keep the on-form shot first everywhere. Platform algorithms differ, but buyer psychology on a phone screen doesn't.
The Nine-Photo Sequence, In Order
Once the first photo is locked in, the remaining slots follow buyer logic, not the order you happened to shoot them. eBay allows up to 24 photos per listing, and most clothing listings close with 9 to 12. Here is the sequence we recommend for a standard garment:
- Front, on-form or worn: the hero shot that becomes your search thumbnail.
- Back, on-form or worn: buyers check for back pockets, vents, closures, and rear staining early.
- Side profile: shows drape, taper, and true length, especially for coats and dresses.
- Brand tag, straight-on and legible: confirms authenticity and size without guesswork.
- Size/fabric care tag: a second confirmation; buyers cross-reference it against the size in your title.
- Fabric close-up in natural light: texture, weave, and true color, since indoor lighting shifts color perception more than any other single variable.
- Functional Elements shot: zippers, buttons, drawstrings, or closures shown mid-operation to prove they work.
- Defect shots, worst-first: every stain, pull, fade line, or repair, each with a ruler or coin for scale.
- Full-length or flat overview: a clean recap for buyers scrolling back through the gallery before they buy.
Defects come near the end, not buried at photo two and not hidden at photo twenty-four. Serious buyers will look for them, and burying them reads as evasive. "Not as described" claims climb when defect photos are missing or hard to find, no matter how accurate the written description is.
Detail Shot Order Inside the Defect Block
Not all defects deserve equal photo real estate. When a garment has multiple flaws, sequence the defect shots by how much they affect the grade, from most to least significant:
- Structural Integrity issues first: split seams, broken zippers, torn linings. These affect wearability, not just appearance.
- Fabric Condition issues second: pilling, thinning, visible fading, or shrinkage.
- Cosmetic Appearance issues third: small stains, discoloration, surface marks that don't affect wear.
- Functional Elements issues fourth: a sticky zipper, a missing spare button, a loose snap.
- Odor & Cleanliness notes last: these can't be photographed directly, so use this slot for a close-up of the care tag and confirm in the description that the item was laundered or cleaned.
This is the same five-factor framework GradeThread uses in a condition report: Fabric Condition, Structural Integrity, Cosmetic Appearance, Functional Elements, and Odor & Cleanliness. It maps onto photo sequencing because buyers evaluate garments in roughly that priority order, even if they've never seen the terms.
Matching Photo Order to Condition Tier
A garment graded NWT or NWOT needs almost no defect documentation. One tag shot and a clean fabric close-up is enough, since the absence of wear is the selling point. Excellent or Very Good needs one or two defect shots to back up the grade and preempt questions. Good, Fair, or Poor needs proportionally more. Buyers accept visible wear at a lower price, but only if they can see exactly what they're accepting before they click buy, not after the box arrives.
Skipping defect photos on a Good or Fair item doesn't make it look better. It moves the disappointment from the gallery to the return request. A return costs you the outbound and return shipping, relist time, and rating risk. An honest photo costs ten seconds.
The Math: What Better Sequencing Saves
Here's an illustrative example, not a benchmark. Say you list 100 items a month at a $40 average sale price, and sloppy defect photos cause 4 extra "not as described" returns. At roughly $8 in lost shipping and fees per return plus the delay in relisting, that's $32 or more in direct cost, before counting the sales you didn't make. Fixing the sequence costs under a minute per listing. Track your own return rate before and after the change so you're working from your numbers, not ours.
A Quick Gut-Check Before You Upload
- Is photo one an on-form or worn shot for anything structured, or a clean front-facing flatlay for basics?
- Does the garment fill most of the frame at thumbnail size?
- Does photo two show the back of the garment, not a repeat angle of the front?
- Are both tag shots (brand and size/care) legible enough to zoom into?
- Is at least one photo shot in natural light with no filter or auto-enhance applied?
- Are defect shots sequenced by severity, not buried at the end of a 20+ photo gallery?
- Does the final photo give a clean overview a buyer can compare against the description?
Run every listing through that seven-point check before it goes live. It takes under a minute and it's the difference between a gallery that sells the garment and one that just documents it.
Where FlipDesk Fits
Getting nine photos in the right order across a hundred listings a week is repetitive judgment that eats reseller hours. FlipDesk's AutoLister holds your photo sequence as a template per category (denim, outerwear, knitwear, basics), so every jacket gets on-form-first and every graphic tee gets flatlay-first without you re-deciding it on every SKU. Pair that with a GradeThread condition report and the defect shots you need are already flagged by factor, in the order buyers look for them.
Try building one listing with this sequence and compare its watch count against a recent listing shot the old way. Give it the first 48 hours, then check the difference.